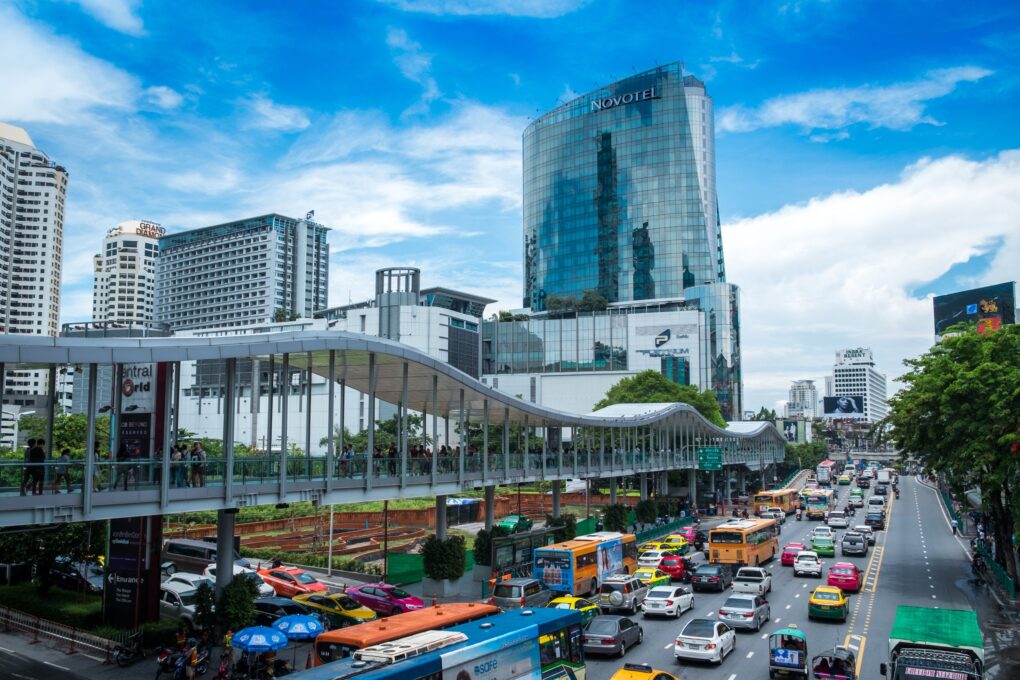
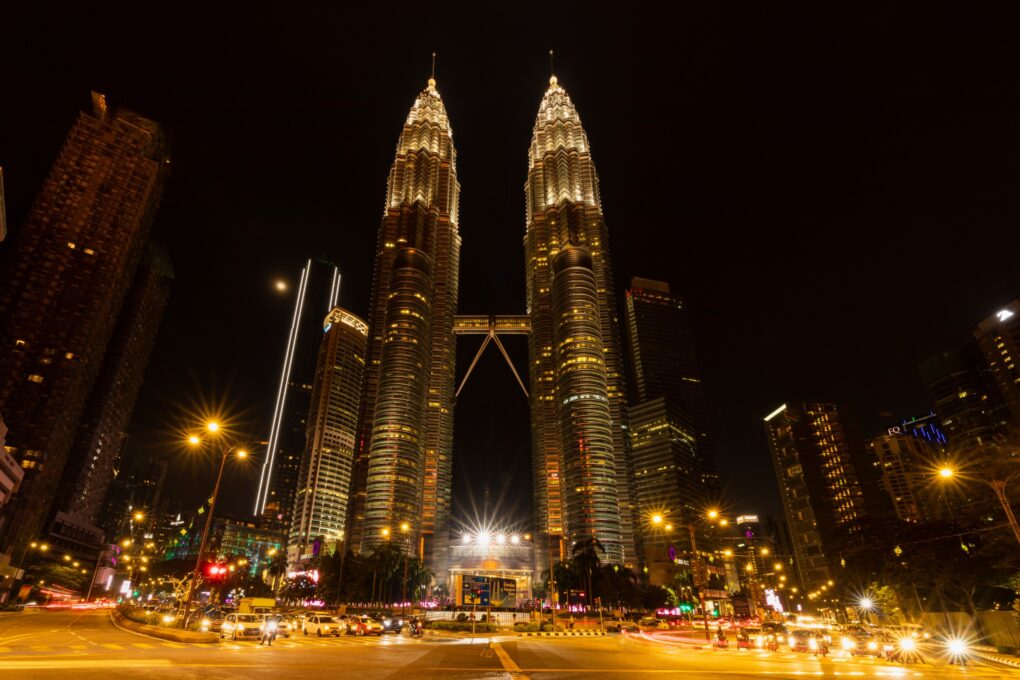
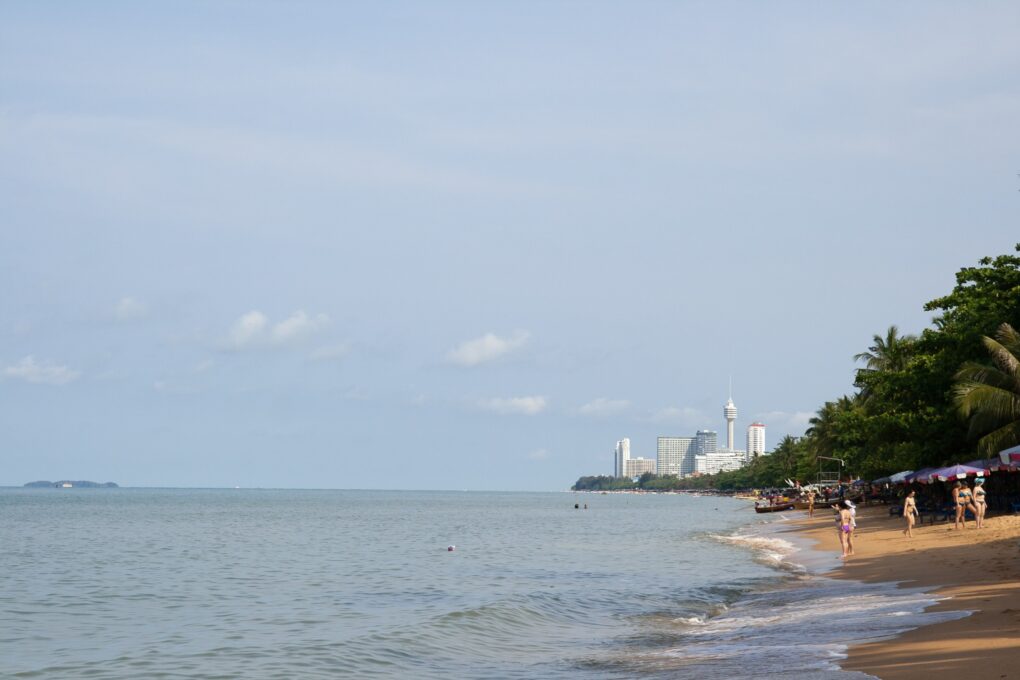
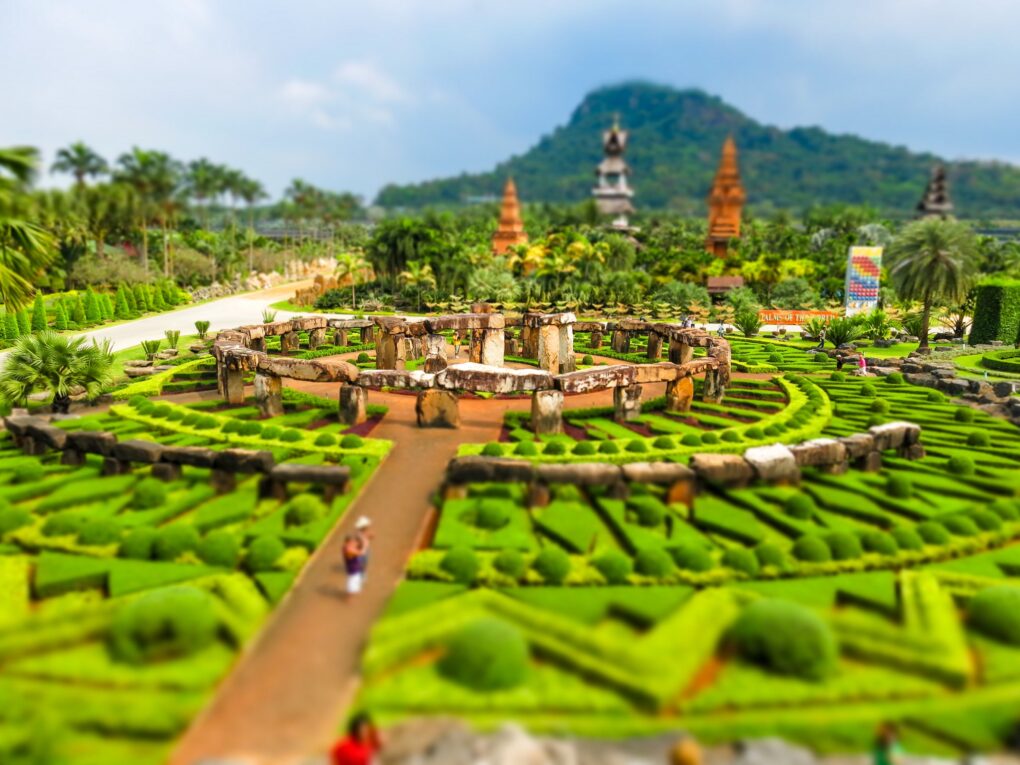
How To Make A Simple Font Logo

If you are starting your own blog or home business, its a good idea to brand it with a logo. Not everybody has graphic design skills and many people don’t want to spend money on a logo, but that doesn’t mean you have to give up the idea of having a logo completely. You can make a temporary logo look really nice by just choosing an attractive font. There is only one rule- you are not allowed to use comic sans or papyrus font. If you do, i will find you and destroy your logo. Seriously. Nothing says amateur like a logo in papyrus font.

1) Pick a font

Go to Dafont.com. There will be a text box in the middle of the page where you can type in the name of your company to see what it will look like in different fonts. Pick a font that says Free, not Free for personal use, which would mean you cant use it for a business logo. (You can select free under more options to filter the search results.) Click to download the fonts you want to try.

2) Install Font

I own a mac so I have never tried this on a PC, but here is a PC tutorial on how to install new fonts downloaded from Dafont. On a mac, once you have downloaded the file, just open the file folder and double click on the image, and it should open a preview with the option to install. Click it.

3) Download Graphic Design Software

The next step is to get Adobe software. You’ll only need a free trial of Illustrator (and if you’ve already used up your free trial, just use a different email address.) I love using Illustrator for tons of things, and after doing just one text logo you might get hooked and upgrade to a full version. Once you’ve downloaded, open up the program and get to work making your logo pretty. Open a new document (file-new).

4) Make your logo

-Click on the text tool on the left side bar. (the T). Type in the name of your company.

-Highlight the name and change the font to the your newly downloaded font. (Under Type> font).

-Switch tools- select the top tool, a black arrow. Make sure your company name is selected, then click Type>Create Outlines.

-You will notice a box of color at the bottom of your tool box; it is probably black, with a white box behind it with a red line through it. These represent stroke and fill- meaning that right now your font color, or fill, is black, and your outline, or stroke, has no color. To change the color of your logo, select the logo and then select a color. (Window>Color). Refer to your little black and white boxes- you are changing the fill color by default, but if you want to change the outline color, click the little white box with the red line through it.

5) Save the file

Figure out what type of file you need to save it as. This can vary depending on what you want to use it for- are you uploading to a website or just printing it out? You can either save it as that file type on illustrator, save it on illustrator then open it in Photoshop to save it as a more normal file type, or just take a simple screen shot of your finished logo. It is up to you.

That’s all there is to it! Good luck and enjoy your logo!